What Is Chalk Paint and Why It Works So Well
Chalk paint isn't actually made from chalk. It's a water-based acrylic paint with a matte finish that's been specially formulated to stick to slick surfaces like varnished wood, plastic, and even glass. The magic is in the adhesion — you don't need heavy sanding or primer with chalk paint, which is why it's become so popular for furniture flips.
What makes it different from regular acrylics? The pigment load is higher, meaning richer colors with less paint. The consistency is thicker, so it covers better. And the finish dries to that distinctive velvety matte that everyone loves. You'll notice the difference the moment you open the tin.

Chalk paint sticks to surfaces other paints won't touch. That's the real advantage — not magic, just chemistry.
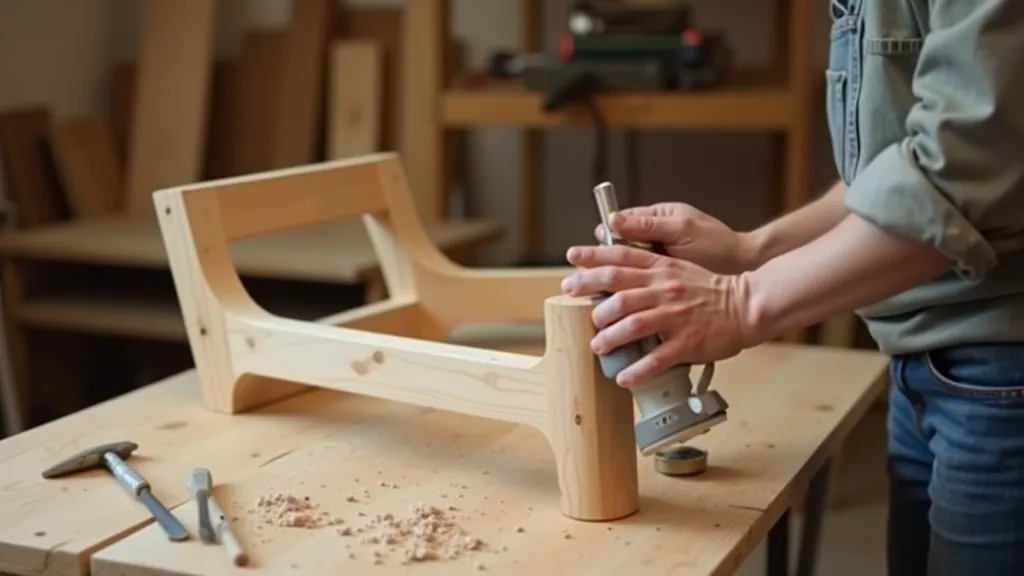
Preparation: The Unglamorous But Essential Step
Here's where people cut corners and then wonder why their paint peels. Preparation isn't glamorous, but it's non-negotiable. You don't need to sand furniture to bare wood with chalk paint — that's the whole point — but you do need to clean it properly.
Start with a good clean. Use a damp cloth and mild soap to remove dust, grime, and any sticky residue. Let it dry completely (at least 2 hours, preferably overnight). If the piece is very glossy, give it a light sanding with 120-grit sandpaper. You're not trying to strip it, just roughing up the surface enough for paint to grip. Wipe away all dust with a tack cloth — this step saves you from painting dust into your finish.
Fill any holes or dents with wood filler if they're noticeable. Let it dry, then sand smooth. This takes 30 minutes but makes the difference between a piece that looks DIY and one that looks professionally finished.
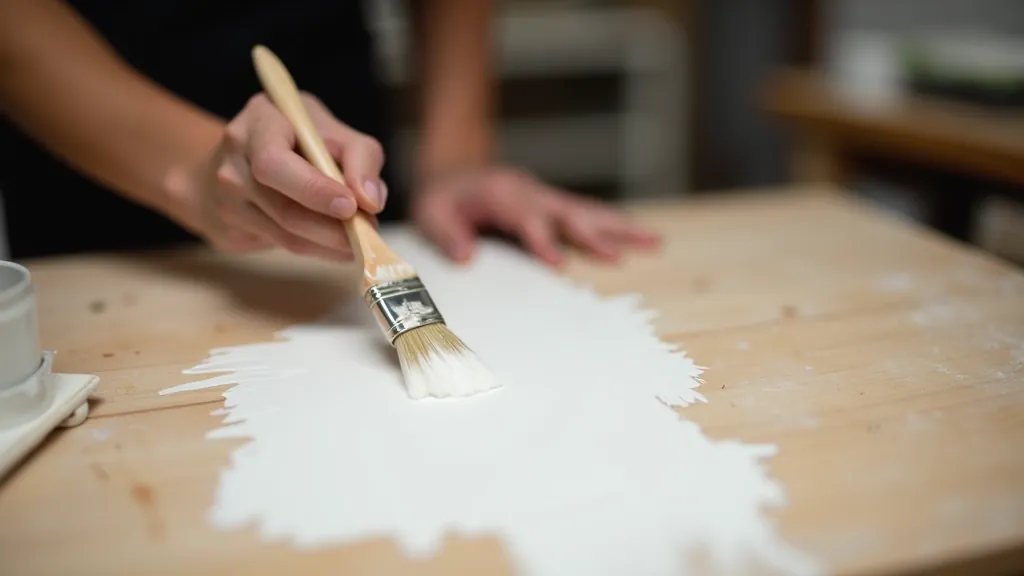
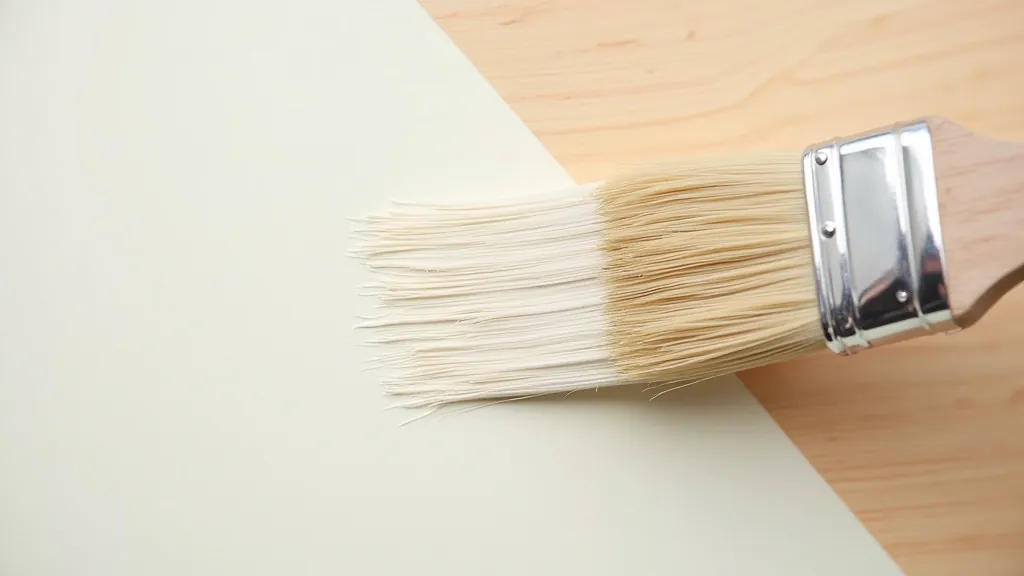
Application Technique: Getting the Finish Right
Application technique matters more than you'd think. Most people apply chalk paint too thickly, which causes drips, uneven coverage, and takes forever to dry. You want thin, even coats instead.
The Right Way to Apply
- Stir your paint thoroughly — chalk paint settles, and you want consistent color
- Use a good brush. Natural bristles work better than synthetic for this type of paint
- Apply thin coats. You'll likely need 2-3 coats, and that's fine
- Use long, smooth strokes in the direction of the wood grain
- Let each coat dry fully (4-6 hours between coats) before applying the next
- Sand lightly between coats with 220-grit paper to ensure adhesion
Don't overwork the paint. Once it's on, leave it alone. Continuing to brush over the same area causes streaking and can pull up the layer beneath.
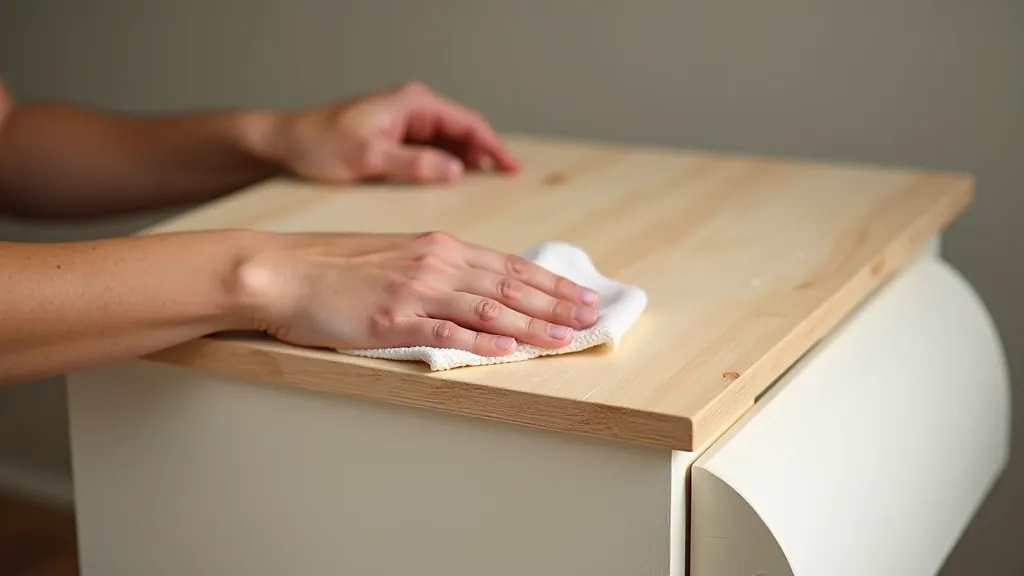
Finishing Touches: Sealing and Distressing
Once your paint is fully dry, you've got choices. Some people leave it matte and naked — that's fine if you're painting something that won't take much wear. Most furniture benefits from a protective topcoat. You've got options here: clear acrylic sealer (matte or satin), wax, or polyurethane.
Wax gives the most authentic vintage look. It's a bit more maintenance (you'll need to reapply every year or so), but it feels beautiful. Apply it with a soft cloth, let it dry 24 hours, then buff to your desired sheen. If you want something more durable and low-maintenance, go for acrylic sealer instead.
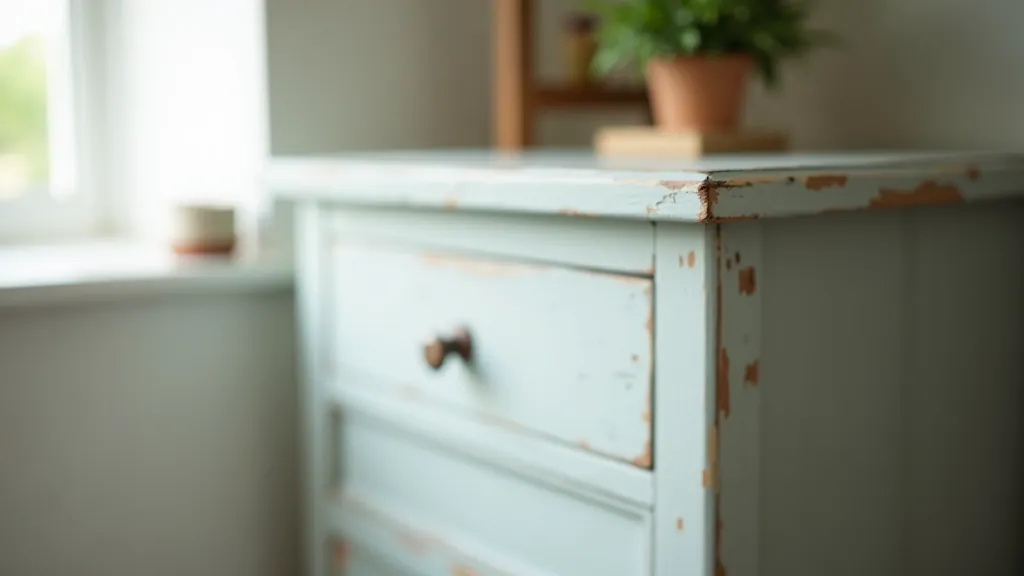
Distressing is optional. If you want that aged, worn-in look, lightly sand the edges and any spots that'd naturally get handled more — corners, door handles, surface edges. Use 220-grit paper and don't overdo it. A little distressing looks authentic. Heavy distressing looks like you're trying too hard.
Common Mistakes to Avoid
Skipping Prep
Jumping straight to painting without cleaning or light sanding means the paint won't adhere properly. You'll end up with peeling paint after a few weeks.
Applying Too Thickly
Thick coats take forever to dry, cause drips, and won't cure properly. Thin coats always win. You'll use less paint and get better results.
Not Sealing
Chalk paint is porous. Without sealing, it'll mark and stain easily. At minimum, use a clear acrylic sealer on any piece that'll see regular use.
Rushing Between Coats
Applying the second coat before the first is fully dry causes the layers to stick together and peel. Patience here saves you a complete redo.
Getting Started With Your First Piece
Chalk paint isn't difficult, but it does require patience and attention to detail. Start with a smaller piece — a bedside table, a bookshelf, or a wooden chair — before tackling a large dresser. You'll learn how the paint behaves, develop a feel for the right brush technique, and build confidence.
The best part? You'll have a piece you genuinely love that you made yourself. That's the real magic of chalk paint. It's not about some miracle product. It's about taking something old and unloved and giving it a second life. The paint is just the tool that makes it possible.
Important Note
This guide provides general information about chalk paint application techniques. Results may vary depending on your specific furniture, paint brand, and environmental conditions. Always follow the manufacturer's instructions on your paint tin. Test on a small, inconspicuous area first. Individual circumstances vary, and professional guidance is recommended for valuable or antique pieces.