Why Wood Preparation Matters
You can't skip this bit. Honestly, it's the difference between a finish that lasts five years and one that chips within months. The preparation work is where real restoration happens — sanding, stripping, and treating the wood properly sets up everything that comes after.
Most people rush through this stage because it's not the "fun" part. But when you're working with vintage pieces, the wood's already been through a lot. It's got old varnish, water marks, stains that've been there for decades. You've got to address all of that before any new finish will stick properly or look decent.
"Preparation is ninety percent of restoration work. The finish just seals in what you've already accomplished."
— Industry restoration standard
Assessing Your Wood Surface
Before you touch sandpaper to anything, spend time looking at what you're working with. Run your hand over the surface — feel for rough patches, soft spots, or areas where the finish's already lifting. These tell you what strategy you'll need.
Water damage shows up as dark stains or slight swelling. Deep gouges or dents might need filler. If the wood feels spongy when you press it, there's rot present and you'll need to address that before any finishing will hold. Some pieces are saveable with solid restoration work. Others need accepting that you'll work around damage rather than fix it completely.
Look at the existing finish too. Is it glossy varnish, matte wax, or paint? That affects your stripping approach. Old paint often requires chemical stripper. Varnish comes off with sanding or stripper depending on thickness. Wax finishes are actually easiest — they respond well to sanding and don't need stripping at all.
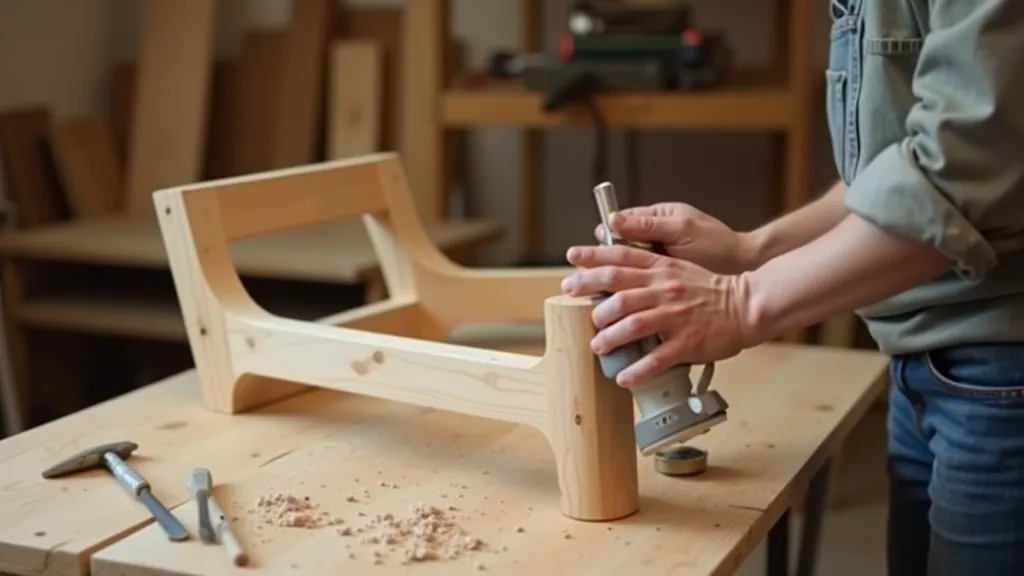
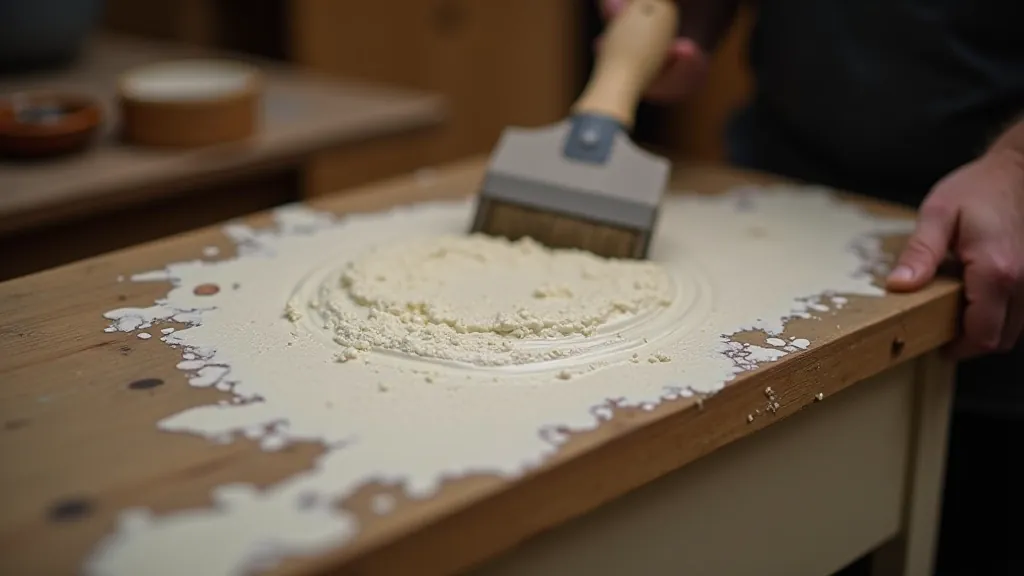
The Sanding Process: Getting It Right
This is where patience matters. You're not trying to sand off wood — you're smoothing the surface and removing the old finish. Start with 80-grit for heavy removal work, move to 120-grit for the middle stage, finish with 180 or 220-grit for smoothness. Don't skip grits. Jumping from 80 directly to 220 leaves scratches you'll see through your finish.
Sand with the grain. Always. Sanding against the grain creates scratches that won't come out. Use even pressure and let the sander do the work — don't push hard. You're after about three to four minutes per area for light surfaces, longer for heavy varnish buildup.
Between each grit, wipe everything down with a damp cloth to see what you've got. You'll spot missed spots, gauges, and areas needing extra attention. That's your chance to adjust approach before moving to finer grits.
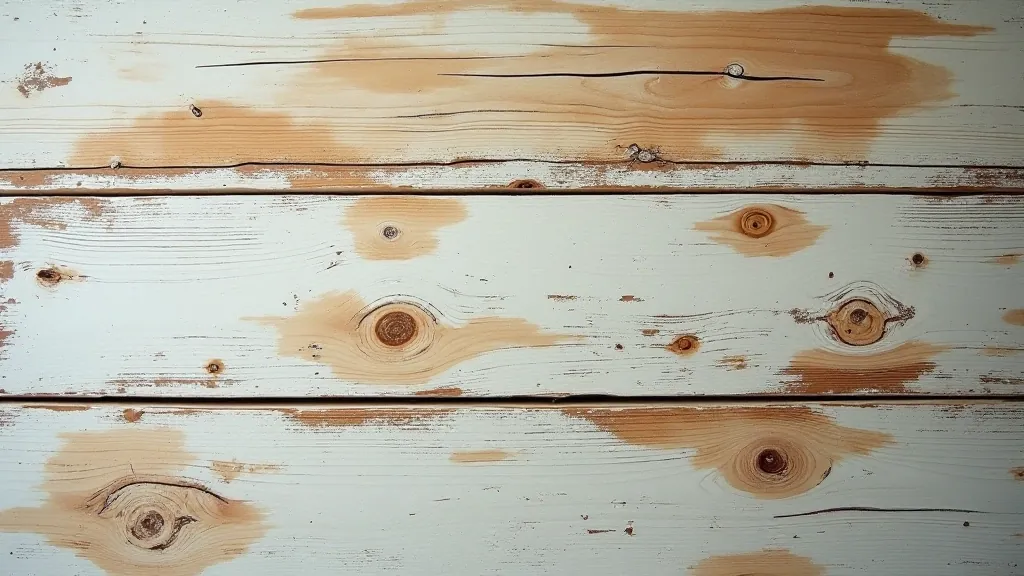
Dealing With Stains and Problem Areas
Not every stain disappears with sanding. Water rings and dark marks sometimes sit deeper in the wood. You've got options here.
Common Stain Solutions
- Light water marks: Sand them out with 180-grit or treat with white vinegar and let dry. Often fades significantly.
- Dark stains: Bleach solution (1:10 ratio with water) lightens them. Test on hidden area first. Takes 24 hours to see full effect.
- Black mold marks: Kill mold first with fungicide, let dry completely. Won't sand out but won't spread either.
- Ink or dye stains: These're stubborn. Accept them or use stain and finish to disguise them.
Gouges and dents need filler if they're deep. Use wood filler that matches your wood tone — it shrinks as it dries so you'll need to sand it flush afterwards. For shallow damage, sometimes a darker stain or wax finish works better than trying to fill.
Stripping Old Finishes
If you've got thick varnish or paint, you'll need stripper. Sanding alone takes forever and creates dust that's not great to breathe. Chemical strippers work, but they're harsh and require ventilation and protective gear. Paint stripper needs about 30 minutes to work, then you scrape it off. Don't let it dry out — keep it wet with stripper during the process.
Eco-friendly strippers exist and they're gentler on your hands and lungs, though they work slower. If you've got time, they're worth considering. After stripping, you'll still need to sand to smooth everything and get the wood ready for finish.
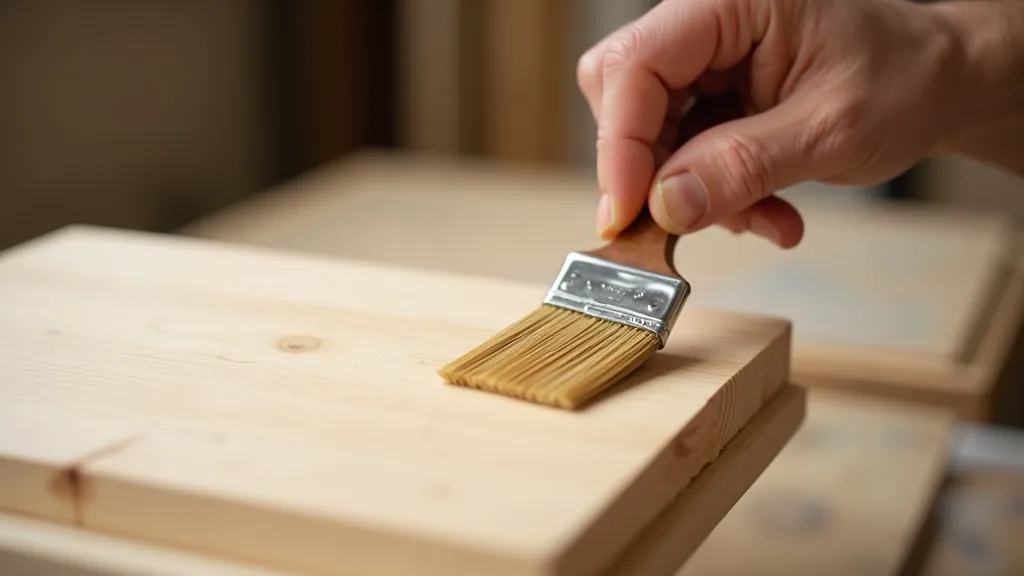
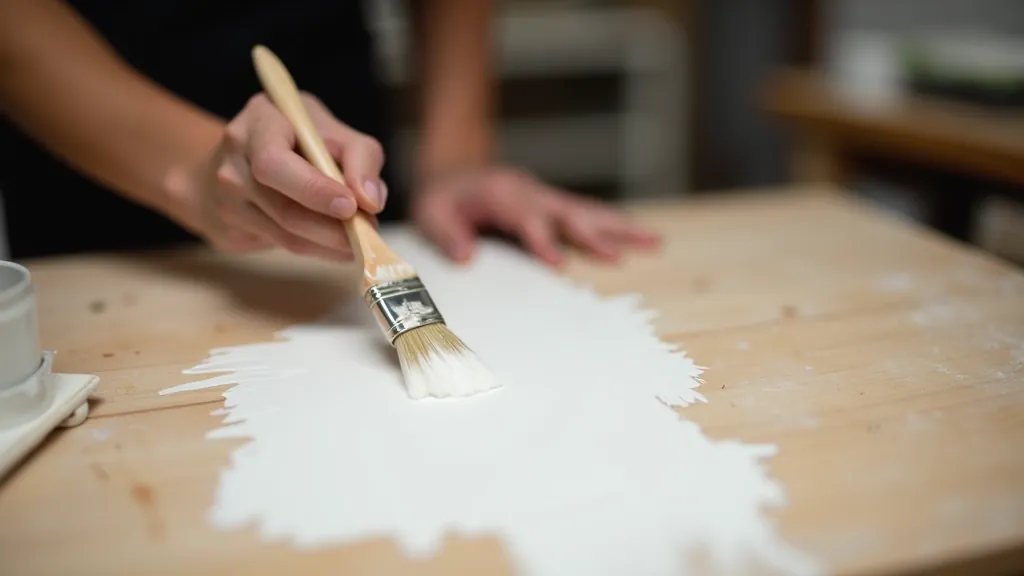
Applying Your Protective Finish
After all that prep work, the finish is what seals and protects your restoration. You've got three main options: oil, wax, or varnish. Each has benefits depending on your piece and what you want the wood to look like.
Oil finishes soak into wood and bring out the grain beautifully. They're easy to apply — just brush or wipe on, let soak, wipe excess. They don't create a hard shell though, so they're better for pieces that won't see heavy use. Reapply every year or so for maintenance.
Wax finishes are traditional and look gorgeous on vintage pieces. They're soft and warm-feeling but not super durable. You'll need to reapply regularly. Varnish or polyurethane creates a hard protective coat that lasts years. It's more durable but can look plastic-y if you're not careful with application. Go with matte or satin rather than glossy for vintage pieces — it looks more authentic.
The Final Steps
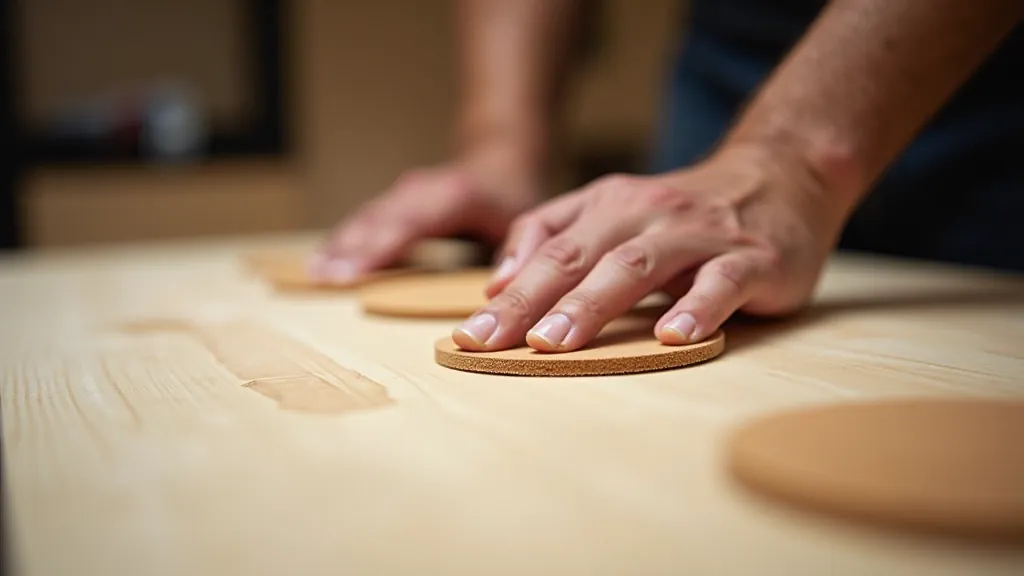
Before applying finish, tack cloth everything. Dust settles on wood constantly and it'll show in your finish. A tack cloth (slightly sticky, designed for this) picks up all particles.
Apply finish in thin coats rather than one thick coat. Thick applications dry unevenly and can look blotchy. Follow manufacturer drying times — don't rush between coats. If you're using varnish, lightly sand between coats with 220-grit to help adhesion. For oil or wax, just apply the next coat once previous one's dry.
Let everything cure fully — usually 24 to 48 hours depending on product — before the piece gets used. And that's it. You've taken a tired old piece and brought it back to life properly. It'll look beautiful and last for years because you did the prep work right.
Bringing It All Together
Vintage restoration isn't magic — it's methodical work done well. Assessment, preparation, sanding, stripping if needed, and careful finishing. That's the formula. Every step matters. You can't skip preparation and expect great results. You can't rush the sanding process. You can't apply finish to dusty wood and get a smooth surface.
What you get in the end is a piece that'll look stunning and feel authentic to what it originally was. That's what restoration means — respecting the wood and the craftsmanship that went into making it, and preserving that through proper technique.
Important Note
This guide is educational information about furniture restoration techniques. Results vary based on wood type, existing damage, and individual skill. Always test techniques on hidden areas first. Chemical strippers and some finishes require proper ventilation and protective equipment — follow product instructions carefully. If you're uncertain about any step or your piece has significant damage or mold, consider consulting a professional restorer. This information is meant to inform, not replace professional guidance for valuable or antique pieces.